Post Detail
Overview
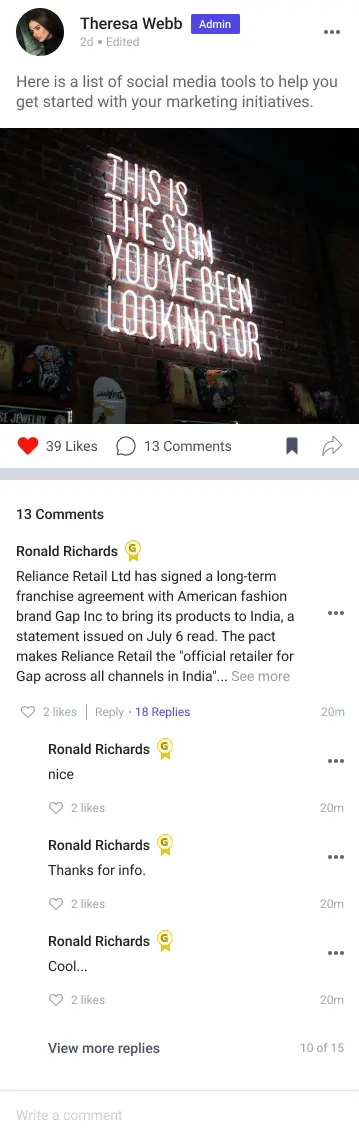
LikeMindsFeed SDK offers various Post Detail Screen implementations to cater to different use cases. These screens are responsible for displaying detailed information about a post, including comments and replies, with each variant optimized for specific content types or interactions.
In the Post Detail screen, the LikeMinds Feed SDK reuses the components from the Post List screen. While these cells share a similar UI, separate classes have been created for each to allow customization and extensibility.
GitHub Files:
UI Components
- LMFeedHeader
- LMFeedPostHeader
- LMFeedPostFooter
- LMFeedPostContent
- LMFeedCarousel
- LMFeedDocument
- LMFeedImage
- LMFeedLinkPreview
- LMFeedVideo
- LMFeedCommentItem
- LMFeedLoader
Props
These props allow interaction handling for comments and replies in the PostDetail screen:
Interaction Callbacks
| Prop Name | Type | Description |
|---|---|---|
getCommentsRepliesProp | Function | Fetches replies for a given comment by postId and commentId. |
addNewCommentProp | Function | Adds a new comment to the specified post. |
addNewReplyProp | Function | Adds a new reply to a specific comment within a post. |
For more callback info, see the callback context source.
Styling Customizations
The STYLES class allows you to customize the appearance of the PostDetail screen using postDetailStyle.
| Property | Type | Description |
|---|---|---|
screenHeader | LMHeaderProps | Customizes the screen header. |
commentItemStyle | CommentItemStyle | Customization for each comment item. |
commentCountHeadingText | TextStyle | Style for comment count heading text. |
noCommentViewStyle | ViewStyle | Style for view shown when no comments exist. |
noCommentHeadingTextStyle | TextStyle | Style for the heading when no comments exist. |
noCommentSubHeadingTextStyle | TextStyle | Style for the subheading when no comments exist. |
replyingViewStyle | ReplyingViewStyle | Style for the reply view section. |
userTaggingListStyle | UserTaggingListStyle | Style for user tagging list items. |
commentTextInputStyle | CommentTextInputStyle | Style for the comment input text field. |
CommentItemStyle
| Property | Type | Description |
|---|---|---|
onTapViewMore | Function | Callback for "View More" tap. |
commentUserNameStyle | TextStyle | Style for commenter's name. |
commentContentProps | LMTextProps | Props for comment content text. |
replyTextProps | ReplyTextProps | Style for reply action text/icon. |
repliesCountTextStyle | TextStyle | Style for reply count text. |
timeStampStyle | TextStyle | Style for timestamp. |
viewMoreRepliesProps | LMTextProps | Props for "View More Replies" text. |
onTapReplies | Function | Callback for tapping on replies. |
ReplyTextProps
| Property | Type | Description |
|---|---|---|
text | LMTextProps | Style for the reply button text. |
icon | LMIconProps | Icon for the reply button. |
onTap | Function | Callback when the reply button is tapped. |
placement | String | Icon placement relative to text. |
buttonStyle | ViewStyle | Style for the reply button container. |
isClickable | Boolean | If the reply button is clickable. |
ReplyingViewStyle
| Property | Type | Description |
|---|---|---|
replyingView | ViewStyle | Style for the reply view container. |
replyingText | LMTextProps | Style for the reply text. |
cancelReplyIcon | LMIconProps | Icon for canceling the reply action. |
UserTaggingListStyle
| Property | Type | Description |
|---|---|---|
taggingListView | ViewStyle | Style for the entire tagging list. |
userTagView | ViewStyle | Style for each tagged user item. |
userTagNameStyle | TextStyle | Style for each tagged user's name. |
CommentTextInputStyle
| Property | Type | Description |
|---|---|---|
inputTextStyle | TextStyle | Style for the comment input field. |
placeholderText | String | Placeholder text inside the input field. |
placeholderTextColor | String | Color for placeholder text. |
rightIcon | RightIconProps | Style and callback for the right-side icon. |
textValueStyle | TextStyle | Style for text inside the input field. |
mentionTextStyle | TextStyle | Style for mention text. |
multilineField | Boolean | Whether the input field supports multiline. |
RightIconProps
| Property | Type | Description |
|---|---|---|
text | LMTextProps | Style for icon-related text. |
icon | LMIconProps | Icon component itself. |
onTap | Function | Callback when icon is tapped. |
placement | String | Placement of icon relative to text. |
buttonStyle | ViewStyle | Style for the icon button container. |
isClickable | Boolean | Whether the icon is interactive. |
Additional customizations like header, autoplay toggle, and footer can be handled via postListStyle in STYLES.
Usage Example
Step 1: Create the Details Screen Component
- Define a
CustomDetailsScreencomponent where you handle callbacks and apply screen-specific styles as per requirement.
import {
  PostDetail,
  usePostDetailContext,
  useUniversalFeedContext,
} from "@likeminds.community/feed-rn-core";

const CustomDetailsScreen = ({ navigation }) => {
  const {
    route,
    addNewComment,
    addNewReply
  } = usePostDetailContext();

  // customised addNewComment callback
  const customAddNewCommentProp = (postId) => {
    console.log("before new comment");
    addNewComment(postId);
    console.log("after new comment", postId);
  };
  // customised addNewReply callback
  const customAddNewReplyProp = (postId, commentId) => {
    console.log("before add reply");
    addNewReply(postId, commentId);
    console.log("after add reply");
  };

  const postDetailScreenStyles = {
    shouldHideSeparator: false,
    noCommentViewStyle: {
      backgroundColor: "red",
    },
  };

  // post details screen customisation
  if (postDetailScreenStyles) {
    STYLES.setCreatePostStyles(postDetailScreenStyles);
  }

  return (
    <PostDetail
      route={route}
      navigation={navigation}
      addNewCommentProp={(id) => customAddNewCommentProp(id)}
      addNewReplyProp={(postId, commentId) =>
        customAddNewReplyProp(postId, commentId)
      }
    />
  );
};

export default CustomDetailsScreen;
Step 2: Wrap the Screen with Context Providers
- Create a
PostDetailsScreenWrapperthat wraps theDetailsScreenwith bothPostDetailContextProviderandUniversalFeedContextProvider.
import CustomDetailsScreen from "<<path_to_DetailsScreen.tsx>>";
import {
  PostDetailContextProvider,
  UniversalFeedContextProvider,
} from "@likeminds.community/feed-rn-core";

const PostDetailsScreenWrapper = ({ navigation, route }) => {
  return (
    <UniversalFeedContextProvider navigation={navigation} route={route}>
      <PostDetailContextProvider navigation={navigation} route={route}>
        <CustomDetailsScreen />
      </PostDetailContextProvider>
    </UniversalFeedContextProvider>
  );
};

export default PostDetailsScreenWrapper;
Step 3: Add the Custom Screen in App.tsx
- In your
App.tsx, create aStack.Navigatorin theNavigationContainerwrapped byLMOverlayProvider. - Add
PostDetailsScreenWrapperas a Stack screen in yourNavigationContainer.
import {
  POST_DETAIL,
  LMOverlayProvider,
  STYLES,
} from "@likeminds.community/feed-rn-core";
import PostDetailsScreenWrapper from "<<path_to_PostDetailsScreenWrapper.tsx>>";
import { NavigationContainer } from "@react-navigation/native";
import { createNativeStackNavigator } from "@react-navigation/native-stack";

export const App = () => {
  const Stack = createNativeStackNavigator();
  return (
    <LMOverlayProvider
      myClient={myClient} // pass in the LMFeedClient created
      apiKey={apiKey} // pass in the API Key generated
      userName={userName} // pass in the logged-in user's name
      userUniqueId={userUniqueID} // pass in the logged-in user's uuid
    >
      <NavigationContainer ref={navigationRef} independent={true}>
        <Stack.Navigator screenOptions={{ headerShown: false }}>
          <Stack.Screen
            name={POST_DETAIL}
            component={PostDetailsScreenWrapper}
          />
        </Stack.Navigator>
      </NavigationContainer>
    </LMOverlayProvider>
  );
};