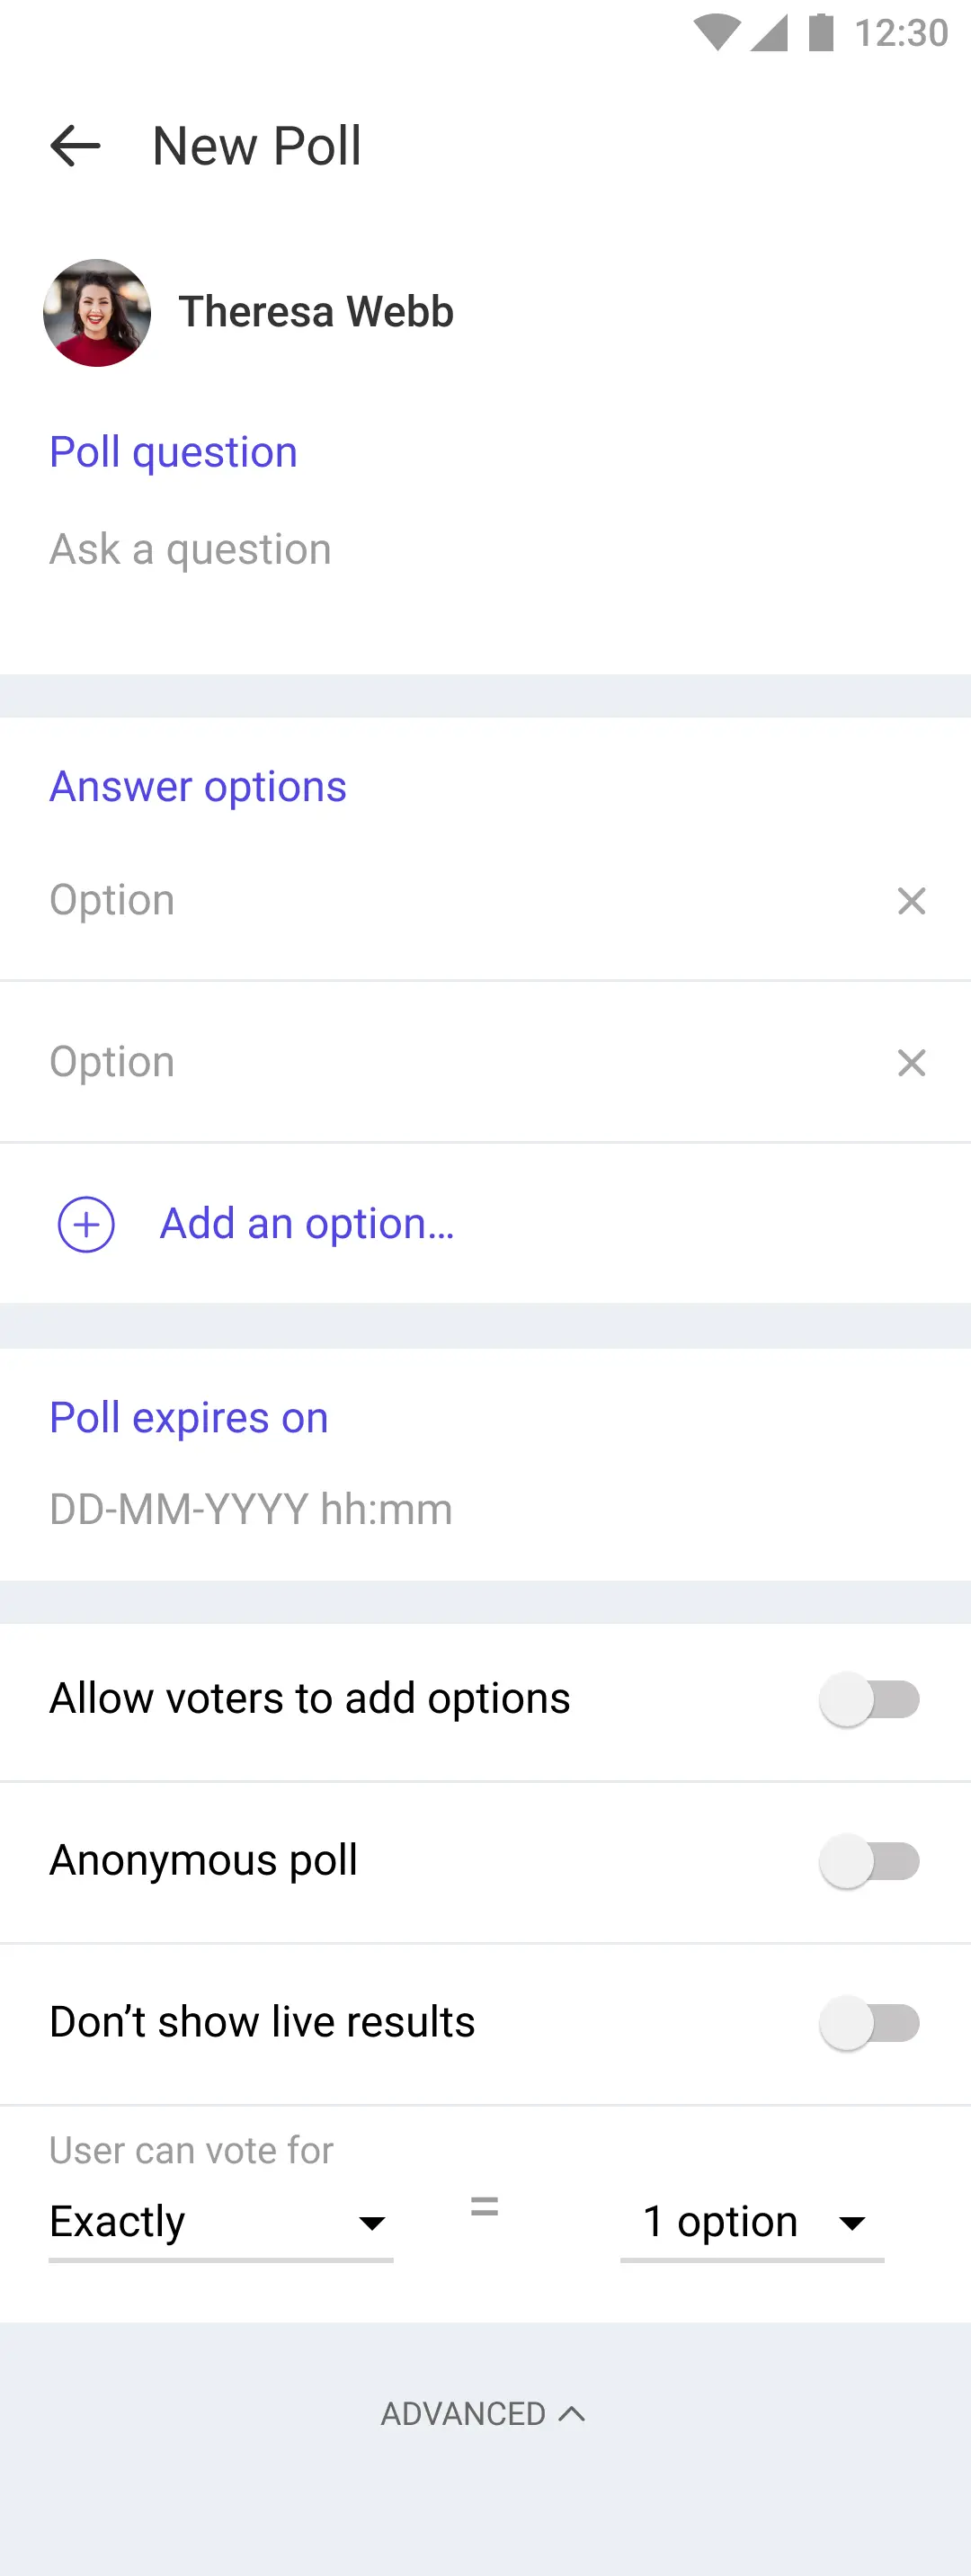
Create Poll
Overview
The CreatePollScreen allows users to create poll by adding question, options. It provides various UI components and functionalities to facilitate the poll creation process.
GitHub File:

UI Components
Props
onPollExpiryTimeClicked: Triggered when the poll expiry time is clicked.onAddOptionClicked: Triggered when the option to add a new poll option is clicked.onPollOptionCleared: Triggered when a poll option is cleared. Provides the index of the cleared option.onPollCompleteClicked: Triggered when the complete poll button is clicked.
Styling Customizations
The STYLES class allows you to customize the appearance of the LMFeedCreatePollScreen. You can set the header styles in pollStlye in STYLES.
Usage Example
Step 1: Create a Custom CreatePoll Screen
- In your app, create a
CreatePollScreenfile which will serve as your custom poll creation screen. It utilizes hooks from the LikeMinds Feed SDK to access core functionality such as adding poll options or setting expiry times.
import {
  LMFeedCreatePollScreen,
  useCreatePollContext,
  STYLES,
} from "@likeminds.community/feed-rn-core";
import React from "react";

const CreatePollScreen = () => {
  const { showDatePicker, addNewOption, removeAnOption, postPoll } =
    useCreatePollContext();

  // customised showDatePicker callback
  const onPollExpiryTimeClicked = () => {
    console.log("do something before onPollExpiryTimeClicked");
    showDatePicker();
    console.log("do something after onPollExpiryTimeClicked");
  };

  // customised addNewOption callback
  const onAddOptionClicked = () => {
    console.log("do something before onAddOptionClicked");
    addNewOption();
    console.log("do something after onAddOptionClicked");
  };

  const createPollStyle = {
    pollQuestionsStyle: {
      fontSize: 16,
      color: "black",
    },
    pollOptionsStyle: {
      fontSize: 16,
      color: "black",
      borderBottomWidth: 1,
    pollAdvanceOptionsSwitchThumbColor: "green",
    pollAdvanceOptionsSwitchTrackColor: "lightgreen",
  };

  // create poll screen customisation
  if (createPollStyle) {
    STYLES.setCreatePollStyles(createPollStyle);
  }

  return (
    <LMFeedCreatePollScreen
      onPollExpiryTimeClicked={onPollExpiryTimeClicked}
      onAddOptionClicked={onAddOptionClicked}
    />
  );
};

export default CreatePollScreen;
Step 2: Wrap the Screen with Context Provider
- Wrap your custom poll screen with
CreatePollContextProvider
import {
  LMFeedCreatePollScreen,
  CreatePollContextProvider,
} from "@likeminds.community/feed-rn-core";
import CreatePollScreen from "<<path_to_CreatePollScreen.tsx>>";

const CreatePollScreenWrapper = ({ navigation, route }) => {
  return (
    <CreatePollContextProvider navigation={navigation} route={route}>
      <CreatePollScreen />
    </CreatePollContextProvider>
  );
};

export default CreatePollScreenWrapper;
Step 3: Add the Custom Screen in App.tsx
- In your
App.tsx, create aStack.Navigatorin theNavigationContainerwrapped byLMOverlayProvider. - Add
CreatePollScreenWrapperas a Stack screen in yourNavigationContainer.
import { LMOverlayProvider, STYLES } from "@likeminds.community/feed-rn-core";
import { CREATE_POLL_SCREEN } from "@likeminds.community/feed-rn-core/constants/screenNames";
import CreatePollScreenWrapper from "<<path_to_CreatePollScreenWrapper.tsx>>";
import { NavigationContainer } from "@react-navigation/native";
import { createNativeStackNavigator } from "@react-navigation/native-stack";

export const App = () => {
  const Stack = createNativeStackNavigator();

  return (
    <LMOverlayProvider
      myClient={myClient} // pass in the LMFeedClient created
      apiKey={apiKey} // pass in the API Key generated
      userName={userName} // pass in the logged-in user's name
      userUniqueId={userUniqueID} // pass in the logged-in user's uuid
    >
      <NavigationContainer ref={navigationRef} independent={true}>
        <Stack.Navigator screenOptions={{ headerShown: false }}>
          <Stack.Screen
            name={CREATE_POLL_SCREEN}
            component={CreatePollScreenWrapper}
          />
        </Stack.Navigator>
      </NavigationContainer>
    </LMOverlayProvider>
  );
};