Message List
Overview
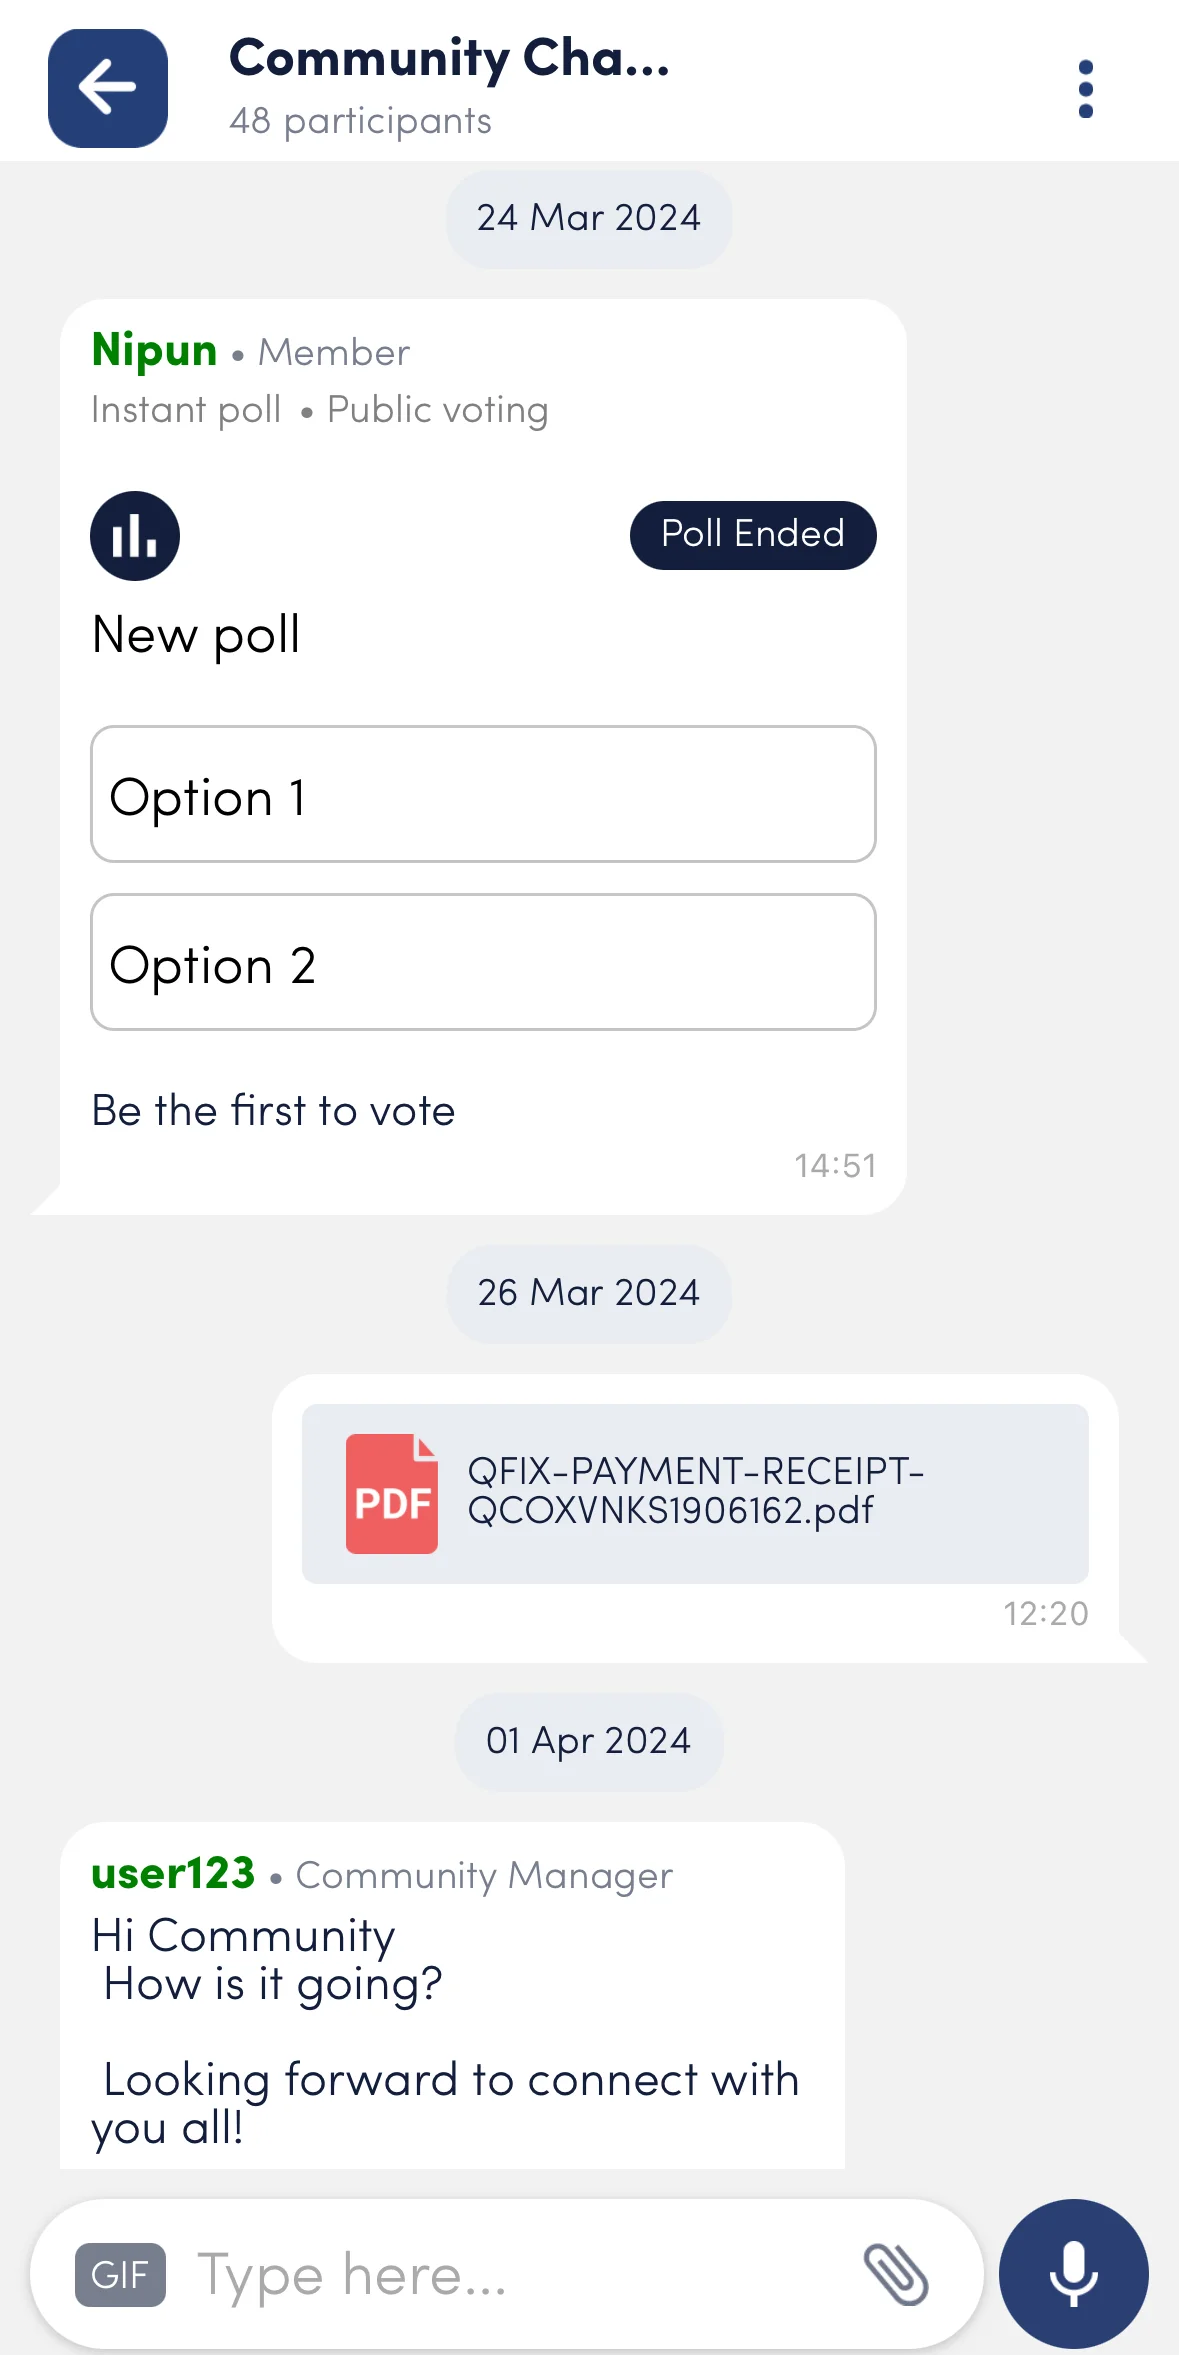
The MessageList component is responsible for rendering a list of messages in a chat interface. It manages the display of individual messages, handling any necessary UI elements like timestamps and sender information. The component also includes functionality for displaying loading indicators and empty states when no messages are available.
UI Components
Props
Interaction Callbacks
onTapToUndo: Triggered when the user taps to undo an action.scrollToBottom: Triggered to scroll the message list to the bottom.
Customisation Props
| Property | Type | Description | Default | Required |
|---|---|---|---|---|
showChatroomTopic | boolean | Determines if the chatroom topic should be shown. |
Styling Customisations
The MessageList customisations can be done using chatBubbleStyles
Usage Example
info
The MessageList component can be used by wrapping it inside the ChatRoom component, and the callbacks are passed as props to MessageList.
Step 1: Create Custom Screen
- In your app, create a
CustomChatroomScreenfile which will serve as your custom chatroom screen. Wrap it withChatRoomcontext provider to provide the necessary context to it's children. - Use the
MessageListas it's children and provide all your customizations as props.
import {
  STYLES,
  MessageList,
  useChatroomContext,
  ChatRoom,
} from "@likeminds.community/chat-rn-core";

const CustomChatroomScreen = () => {
  const { onTapToUndo, scrollToBottom } = useChatroomContext();

  const customOnTapToUndo = async () => {
    console.log("before custom on tap to undo");
    const response = await onTapToUndo();
    console.log("response after custom on tap to undo", response);
  };

  const customScrollToBottom = async () => {
    console.log("before custom scroll to bottom");
    await scrollToBottom();
    console.log("after custom scroll to bottom");
  };

  return (
    <ChatRoom>
      <MessageList
        onTapToUndo={customOnTapToUndo}
        scrollToBottom={customScrollToBottom}
        showChatroomTopic={false}
      />
    </ChatRoom>
  );
};

export default CustomChatroomScreen;
Step 2: Wrap the Screen with Chat Context Provider
- The
ChatWrapper provides access to the chatroom context
import { Chat } from "@likeminds.community/chat-rn-core";
import { CustomChatroomScreen } from "<<path_to_CustomChatroomScreen.tsx>>";

function ChatroomScreenWrapper() {
  return (
    <Chat>
      <CustomChatroomScreen />
    </Chat>
  );
}

export default ChatroomScreenWrapper;
Step 3: Add the Custom Screen in App.tsx
- In your
App.tsx, create aStack.Navigatorin theNavigationContainerwrapped byLMOverlayProvider. - Add
ChatroomScreenWrapperas a Stack screen in yourNavigationContainer.
App.tsx
import { CHATROOM, LMOverlayProvider } from "@likeminds.community/chat-rn-core";
import { ChatroomScreenWrapper } from "<<path_to_ChatroomScreenWrapper.tsx>>";
import { NavigationContainer } from "@react-navigation/native";
import { createNativeStackNavigator } from "@react-navigation/native-stack";

export const App = () => {
  const Stack = createNativeStackNavigator();
  return (
    <LMOverlayProvider
      myClient={myClient} // pass in the LMChatClient created
      apiKey={apiKey} // pass in the API Key generated
      userName={userName} // pass in the logged-in user's name
      userUniqueId={userUniqueID} // pass in the logged-in user's uuid
    >
      <NavigationContainer ref={navigationRef} independent={true}>
        <Stack.Navigator screenOptions={{ headerShown: false }}>
          <Stack.Screen
            name={CHATROOM}
            component={ChatroomScreenWrapper}
            initialParams={{
              chatroomID: chatroomId,
              announcementRoomId: announcementRoomId,
            }}
          />
        </Stack.Navigator>
      </NavigationContainer>
    </LMOverlayProvider>
  );
};