Chatroom Topic
Overview
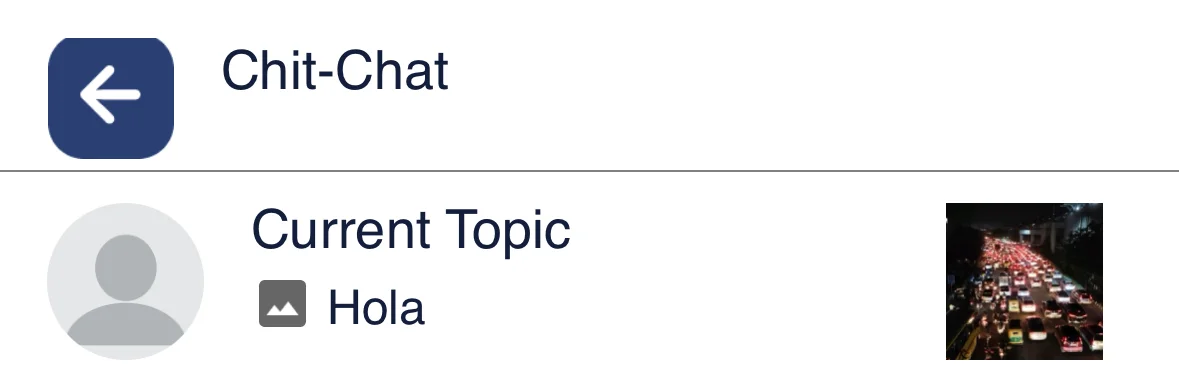
The ChatroomTopic component is used within the LikeMinds chat React Native integration to display and manage topics within a chatroom. It allows users to view and interact with specific chatroom topics, providing an organized structure for discussions. This component manages the rendering of topic details, such as title and description, and facilitates user interaction with the topic.
GitHub File:
Customisations with Styles
The below styles can be applied through the setChatroomTopicStyle method on the STYLES class
TopicHeader
| Property | Type | Description |
|---|---|---|
fontSize | number | Font size of the topic header |
fontFamily | string | Font family for the topic header |
color | string | Color of the topic header |
TopicDescription
| Property | Type | Description |
|---|---|---|
fontSize | number | Font size of the topic description |
fontFamily | string | Font family for the topic description |
color | string | Color of the topic description |
Usage Example
info
The ChatroomTopic component can be used by wrapping it inside the ChatRoom component.
Step 1: Create Custom Screen
- In your app, create a
CustomChatroomScreenfile which will serve as your custom chatroom screen. Wrap it withChatRoomcontext provider to provide the necessary context to it's children. - Use the
ChatroomTopicas it's children and provide all your customizations through theSTYLESclass. - Create
chatroomTopicStylesfor customisation and call thesetChatroomTopicStylesto set the customisation.
import {
  STYLES,
  useChatroomContext,
  ChatRoom,
} from "@likeminds.community/chat-rn-core";

const CustomChatroomScreen = () => {
  const chatroomTopicStyles = {
    topicHeader: {
      color: "pink",
    },
  };

  // custom styling for chatroom topics
  if (chatroomTopicStyles) {
    STYLES.setChatroomTopicStyle(chatroomTopicStyles);
  }

  return (
    <ChatRoom>
      <ChatroomTopic />
      {/* Other chat components*/}
    </ChatRoom>
  );
};

export default CustomChatroomScreen;
Step 2: Wrap the Screen with Chat Context Provider
- The
ChatWrapper provides access to the chatroom context
import { Chat } from "@likeminds.community/chat-rn-core";
import { CustomChatroomScreen } from "<<path_to_CustomChatroomScreen.tsx>>";

function ChatroomScreenWrapper() {
  return (
    <Chat>
      <CustomChatroomScreen />
    </Chat>
  );
}

export default ChatroomScreenWrapper;
Step 3: Add the Custom Screen in App.tsx
- In your
App.tsx, create aStack.Navigatorin theNavigationContainerwrapped byLMOverlayProvider. - Add
ChatroomScreenWrapperas a Stack screen in yourNavigationContainer.
App.tsx
import { CHATROOM, LMOverlayProvider } from "@likeminds.community/feed-rn-core";
import { ChatroomScreenWrapper } from "<<path_to_ChatroomScreenWrapper.tsx>>";
import { NavigationContainer } from "@react-navigation/native";
import { createNativeStackNavigator } from "@react-navigation/native-stack";

export const App = () => {
  const Stack = createNativeStackNavigator();
  return (
    <LMOverlayProvider
      myClient={myClient} // pass in the LMChatClient created
      apiKey={apiKey} // pass in the API Key generated
      userName={userName} // pass in the logged-in user's name
      userUniqueId={userUniqueID} // pass in the logged-in user's uuid
    >
      <NavigationContainer ref={navigationRef} independent={true}>
        <Stack.Navigator screenOptions={{ headerShown: false }}>
          <Stack.Screen
            name={CHATROOM}
            component={ChatroomScreenWrapper}
            initialParams={{
              chatroomID: chatroomId,
              announcementRoomId: announcementRoomId,
            }}
          />
        </Stack.Navigator>
      </NavigationContainer>
    </LMOverlayProvider>
  );
};